


Before you go —
we send free sample boxes to businesses evaluating our strips.
No minimum. No obligation. Just try them on real nails.
How to apply, cure and remove semi-cured gel nail strips: sizing, prep, 60-second cure, removal with oil, and the mistakes that make a set lift early.
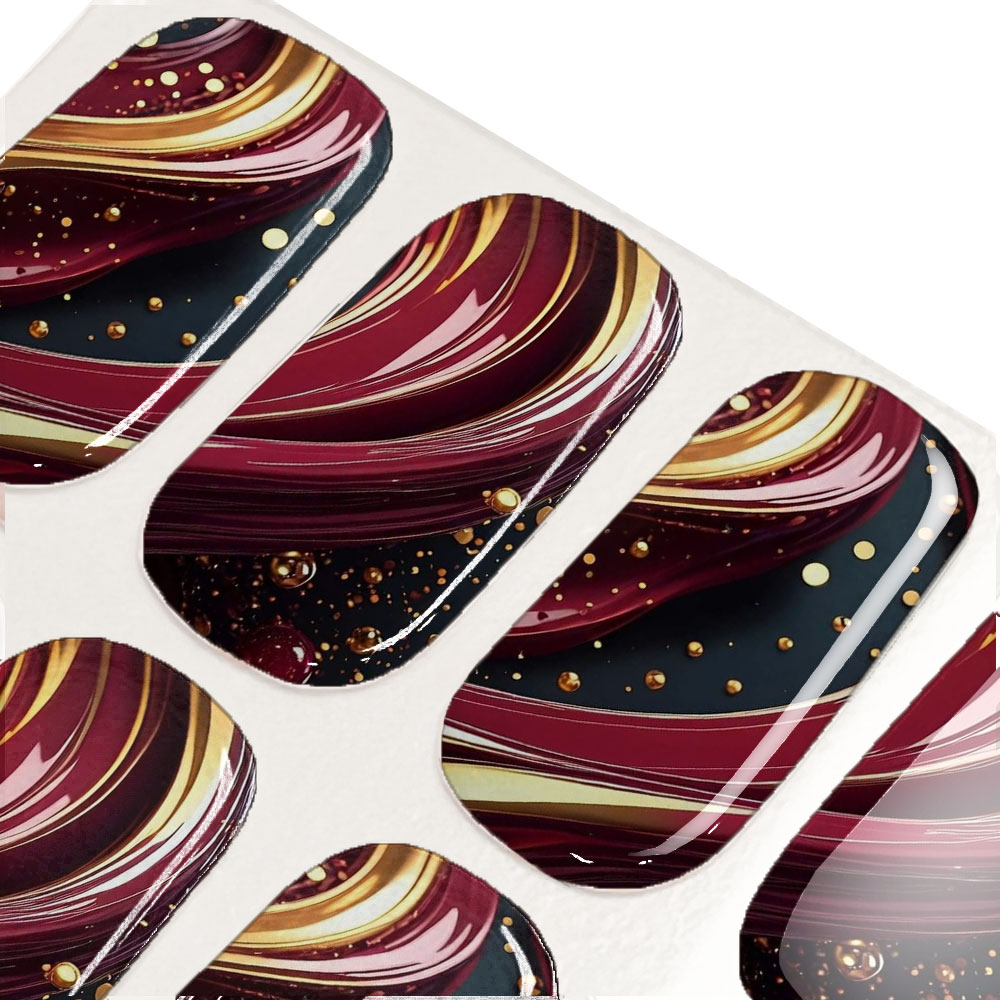
A semi-cured gel strip is already 60% cured when it comes out of the box. You press it on, cure it once under a lamp, and it turns into a solid gel layer. Below is the whole method — sizing, prep, application, curing, removal — plus FAQ.
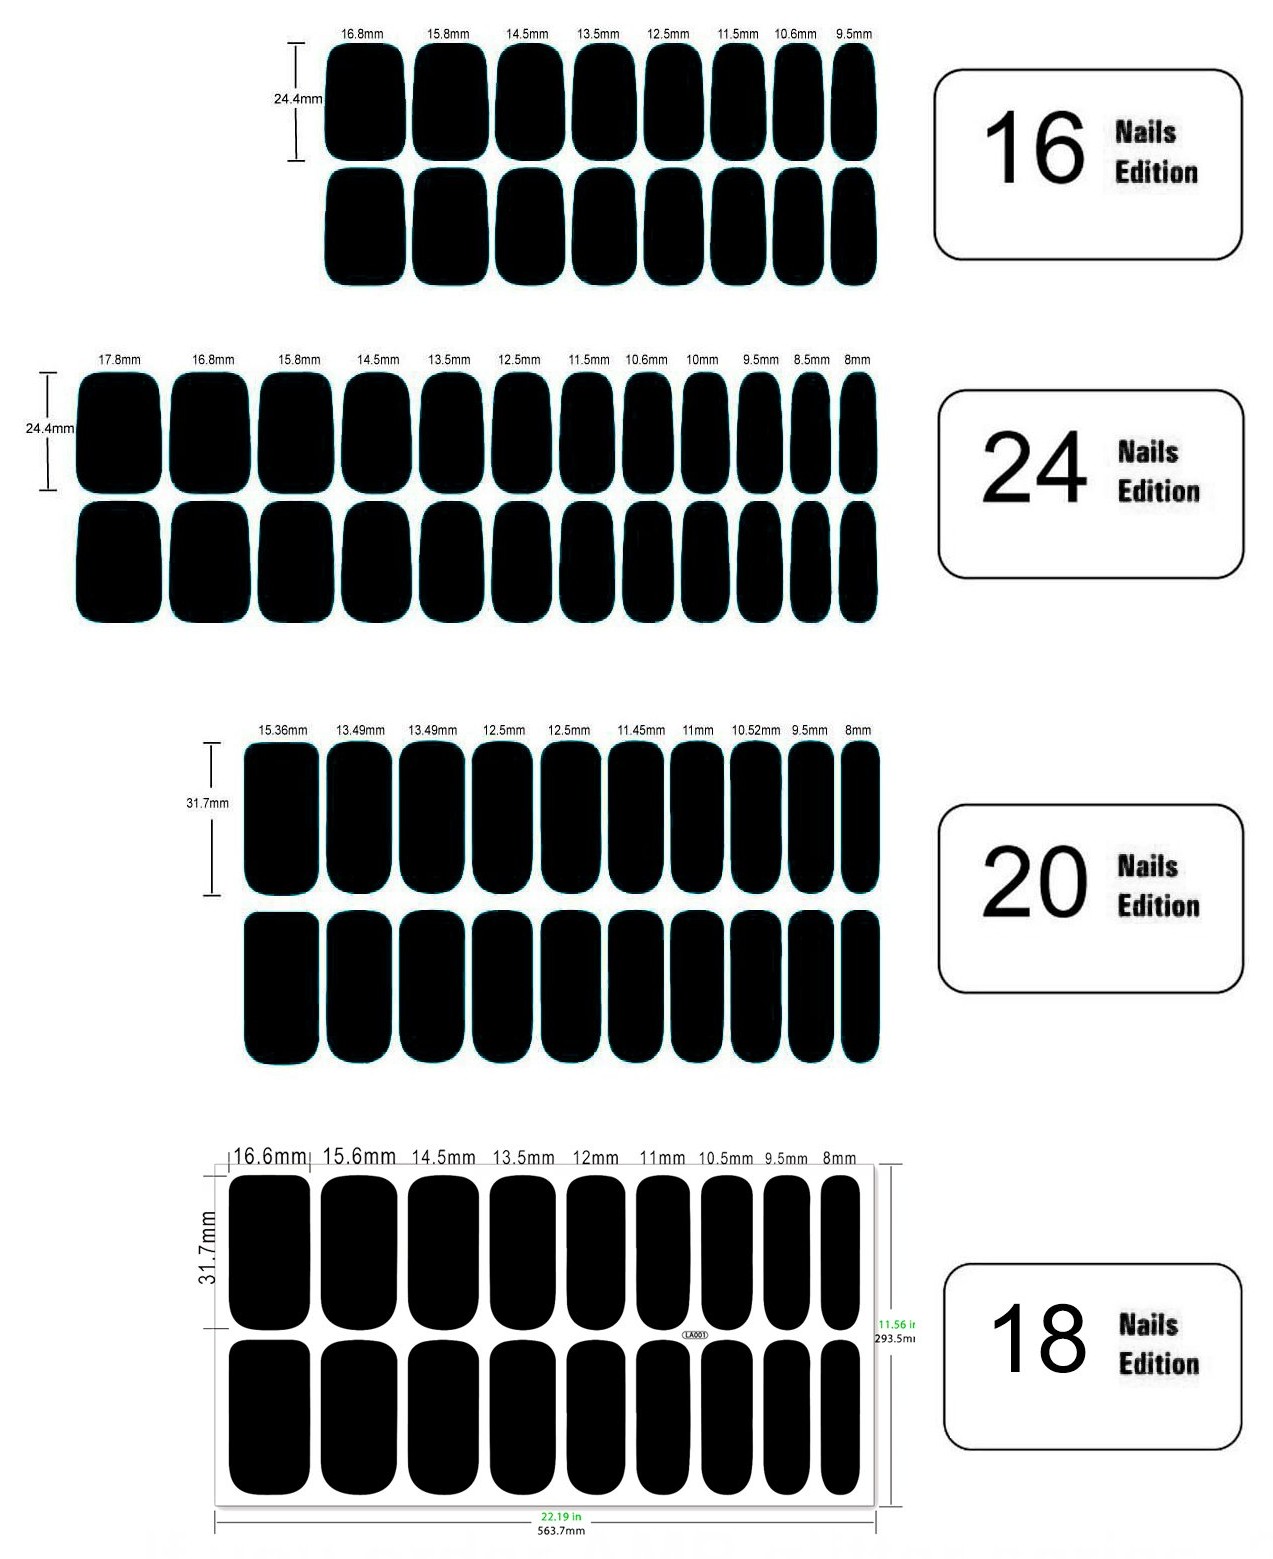
Every box holds mixed widths. Match by eye: the strip should cover the nail wall to wall without touching the skin. If it overlaps the side walls, go one width down; if you can see bare nail on both sides, go one up.
Boxes come in four editions — 16, 18, 20 and 24 strips. The 24-strip box is the standard pack: a full set plus spares across the widest range of widths. The 16-strip editions are shorter size runs; the 18- and 20-strip editions are longer. The finish is identical; only the number of widths changes.
Wipe each nail with a lint-free pad to strip surface oil. Push the cuticles back. Do not soak your hands first: water swells the nail plate, and the strip lifts as it dries out.
Choose the proper size and peel one strip from the side that you will cut off later.
Place the rounded edge a hair above the cuticle, not on it. Press from the centre outward, then work left and right to push the air ahead of your finger. Any bubble left under the strip becomes a lift point within days.
After one hand is well pressed, cut the excess roughly with another hand.
Cure under a 6W UV/LED lamp for 60 seconds. The strip goes from soft and slightly tacky to hard and glossy. That is the finished layer. No need to add a base coat, a top coat, a gel top layer, or nail polish. File the nail edge to a perfect shape.
A semi-cured strip is a wear layer, not a treatment. It does not strengthen, repair or condition the natural nail, and it cannot act as a base for other products. What you see in the box is what ends up on your nail — colour, gloss and thickness are all pre-set. Once it is cured, there is nothing to add.
Method 1. Never pull a strip off dry. Run warm cuticle oil along the edge, wait five to ten minutes, then lift a corner with a wooden stick and peel back at a low angle, close to the nail. The oil works its way under the edge and breaks the seal; a slow, flat peel keeps the nail plate intact. If a strip resists, add more oil and wait — do not force it. Wipe the nail afterwards and put cuticle oil on the skin around it, not on the nail surface.
Method 2. Heat it with a hair dryer for about 1min until it gets soft, peel off directly.
Three weeks for most people, depending on how fast your nails grow and how well the strips are pressed before UV cure.
No. The strip is the finished layer. It’s glossy and stays glossy all the lifetime. No need base coat, top coat, or builder gel and ordinary polish all sit on top of a surface.
Not on or near the strip. Oil is for removal: it creeps under the edge and breaks the seal, which is exactly what you want at the end and exactly what you do not want during wear. Keep it on the skin around the nail only.
Yes. Cured gel is waterproof, and normal hand washing does no harm. Long hot soaks and repeated exposure to detergent are what shorten wear, so wear gloves for the dishes.
No. Once peeled, the edge that seals against the cuticle is distorted and will not sit flat again. Reused strips lift within a day or two.
If none of the strips fit your last nail, cut down the strip with base film, and cut the side wall to your own size before curing — but keep the rounded cuticle edge untouched.
This won’t happen if you press well and make sure there is no edge lifted before UV cure. Once it happens, you can ignore it, usually it won’t be worse. You can also replace with a new one if you want. But make sure it’s well pressed before UV cure.
If you don’t have a lamp, exposing it to sunlight for 2-5 min also works.
We do not recommend it. But if you want to do so, make sure the builder gel or acrylic surface has no oil.
Test one strip on a single nail first. Do not apply over a broken nail plate, an active infection, or inflamed skin — see a doctor first. The strip is a cosmetic wear layer, not a treatment for the nail underneath.
If you need the instruction card in your own language, contact us for the OEM service.
