Before you go —
we send free sample boxes to businesses evaluating our strips.
No minimum. No obligation. Just try them on real nails.
Every gardener I know has the same quiet tragedy: we spend all spring making things bloom, and our own hands look like we lost a fight with a trowel. Short broken nails, soil-stained cuticles, and polish that chips the moment you grip a rake. Pretty nails felt like something that belonged to people who don’t pot tomatoes on a Saturday.
I tried anyway, over the years. Regular polish lasted about one weeding session. A salon gel manicure made it two weekends before the edges started lifting from all the soil, water and glove friction — and honestly, at $60 a pop I couldn’t justify it for a hobby that ruins things on purpose. One reviewer I found online described my exact cycle with strips: “My first set has only lasted 5 days before lifting!” Another wrote, “took another shower and three more of my nails popped off.” Water and edges. That’s the whole story of why garden nails always failed.
So this spring I ran a real experiment: the Periwinkle Blossom semi-cured gel strips, worn through a full weekend of garden work — potting, watering, weeding, gloves on and off — to see if they’d survive what my flower beds dish out. Here’s exactly what I did and what happened.
Semi-cured strips are real gel polish that arrives 60 percent cured — soft and pliable in the packet, then you harden them at home under a UV or LED lamp. The box I ordered online came with 24 strips in mixed sizes, so sizing was easy: I picked a strip slightly narrower than each nail, which the instructions flag as the trick for preventing edge lift later. That’s the mistake I made with every brand before, grabbing strips that overhung the sides of my nail beds.
The routine: wipe each nail clean with the alcohol pad, press the strip just above the cuticle without touching skin, and smooth from the center line outward — firm strokes, pushing any air pockets toward the edges. Scissor off the extra length while the gel is still soft. Then sixty seconds under the lamp per hand, and the strip goes from flexible to genuinely hard — it sounds hollow when you tap it, like a cured salon gel. A quick file across the free edge and I was done before my tea went cold.
First real test: repotting two hydrangeas and emptying a bag of compost. This is where polish used to die — grit works under the free edge and pries it up. The cured gel held flat. No lifting at the corners, no scratches showing through the print. I wore my gardening gloves for the heavy scooping, and when I pulled them off to check, the little blossoms were still glossy under a film of soil dust that rinsed right off.
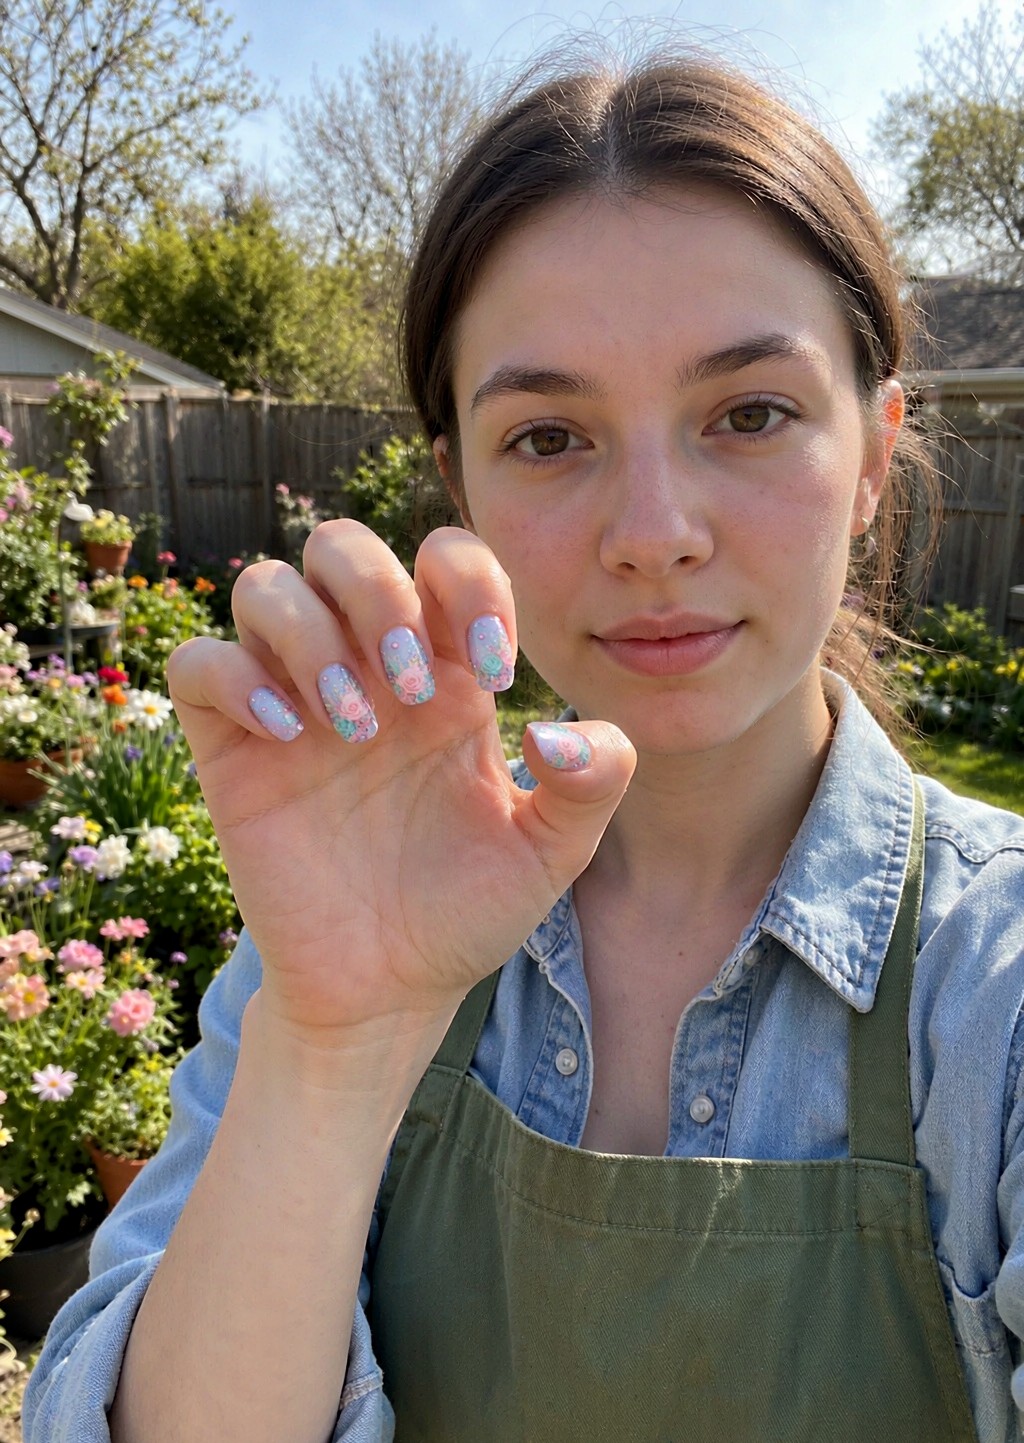
The design, for the record, is a printed pattern: a pale blue-lilac base scattered with soft pink and mint blossoms, tiny glitter leaves and little gem dots — like spring itself got bottled onto my nails. It’s a print, so there’s no smudging and no drying to dent. Between the pastel palette and the garden setting, my nails have genuinely never matched my hobby better.
Water is the usual assassin. I watered every bed and pot — roughly twenty minutes of standing water contact — then scrubbed soil off my hands and under a nail brush at the sink. Two hand-washes, one full soak-through, and not one edge had budged by bedtime. The difference is the seal: once the gel cures hard over that medical-grade adhesive, there’s no soft edge for water to wick into. My old strips lifted because water crept under a flexible edge; these don’t offer one.
Two hours of weeding, yanking dandelions out by the root — the single most nail-hostile activity I know. Gripping, twisting, soil packed into every fingertip. By Sunday evening: all ten intact, edges sealed, the little flowers still bright. I checked each nail against the light like I was appraising them.
And it didn’t stop there. I’m writing this on day 16, still wearing the same set — through weekday dishwashing, hand lotion, one hardware store run. They finally came off this week the gentle way: warm cuticle oil around the edges, wait ten minutes, lift a corner and peel slowly. Clean removal, no white spots, no damage underneath.
For anyone whose weekends are spent with dirt under anyone-else’s nails: the full kit — 24 mixed-size strips, prep pad, file — was $5.99 online, and fifteen minutes on Friday night bought me two full weekends of garden work with flowers still on my nails. That’s the whole pitch. It just happens to be true.
If your nails deserve to look as tended as your flower beds, Periwinkle Blossom is the exact set from my photo — same little blossoms, same pale blue, same fifteen-minute Friday routine before the weekend’s digging starts.