Before you go —
we send free sample boxes to businesses evaluating our strips.
No minimum. No obligation. Just try them on real nails.

I have roughly four hundred graduation photos saved to a Pinterest board titled “graduation but make it soft,” and one month to make at least ten of them real. The cap and gown were easy. The location was easy. What actually kept me up at night was a strange little spreadsheet I made of everything that shows up in close-up photos. Spoiler: hands are in almost all of them — holding the cap, hugging friends, gripping the diploma, next to your face in every candid.
So if you’re prepping for graduation photos, here’s the actual checklist I worked through, in the order I wish I’d done it.
Everyone irons the outfit under the gown and then the gown itself comes out of the bag looking like a crumpled receipt. Ten minutes with a handheld steamer the night before. In photos, a crisp gown collar frames your face; a wrinkled one eats your neckline. This costs nothing and is the single most skipped step I saw on my own photo day.
The cap sits differently depending on your part and your face shape, and bobby pins are not interchangeable between “my bedroom mirror” and “a windy lawn.” I wore mine around the apartment for twenty minutes two days early. My roommate laughed. My photos are the ones where the tassel falls correctly, so who’s laughing now.
Graduation shoots are mostly laughing shots, and you will not have touch-up time between poses. A long-wear stain in a neutral rose beat my favorite lipstick, which had vanished by pose twelve. Test it against your gown and your skin in daylight, not bathroom light.
This is the item that took exactly fifteen minutes and gave me the most anxiety beforehand, so let me explain it properly. I have short, busy-person nails, and every professional nail option had a problem: a salon booking meant another $60-plus and another evening I didn’t have during finals week, and every press-on set I’d tried in the past popped off at the worst moments. There’s a whole genre of reviews about this — my favorite is the blunt one about a set that never survived to the twelve-hour mark before everything popped off. Another warned of a half-hour application that was anything but easy. Neither failure mode works when your hands are scheduled to be photographed for two hours.
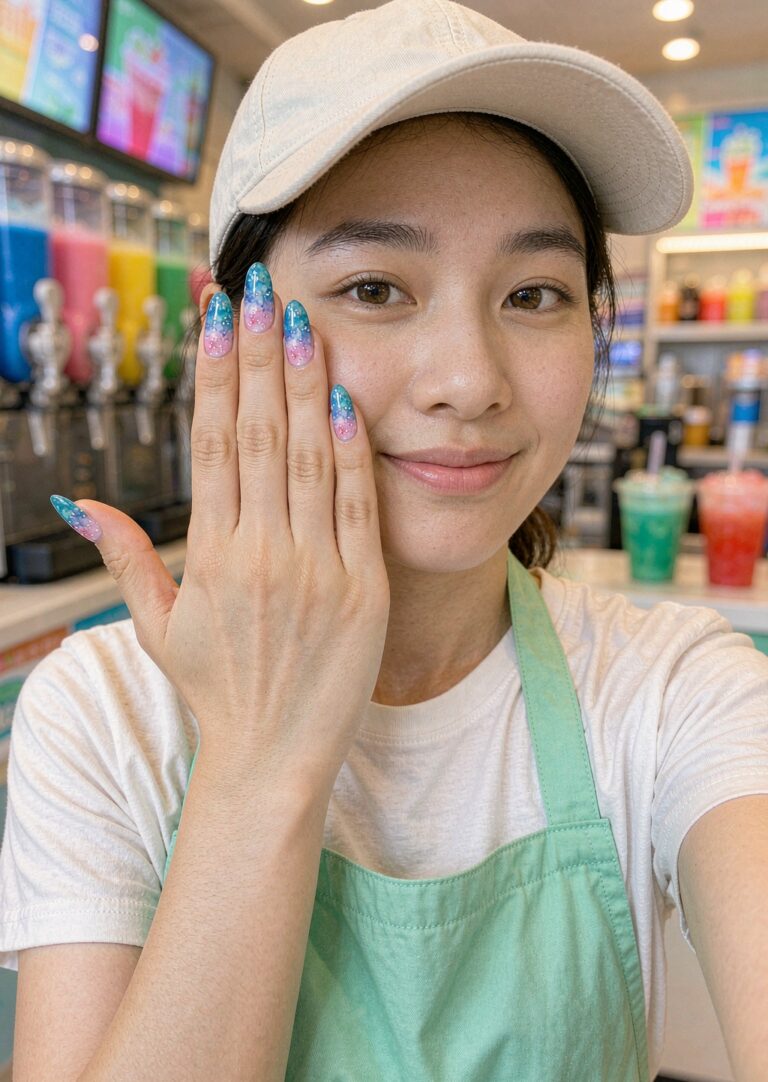
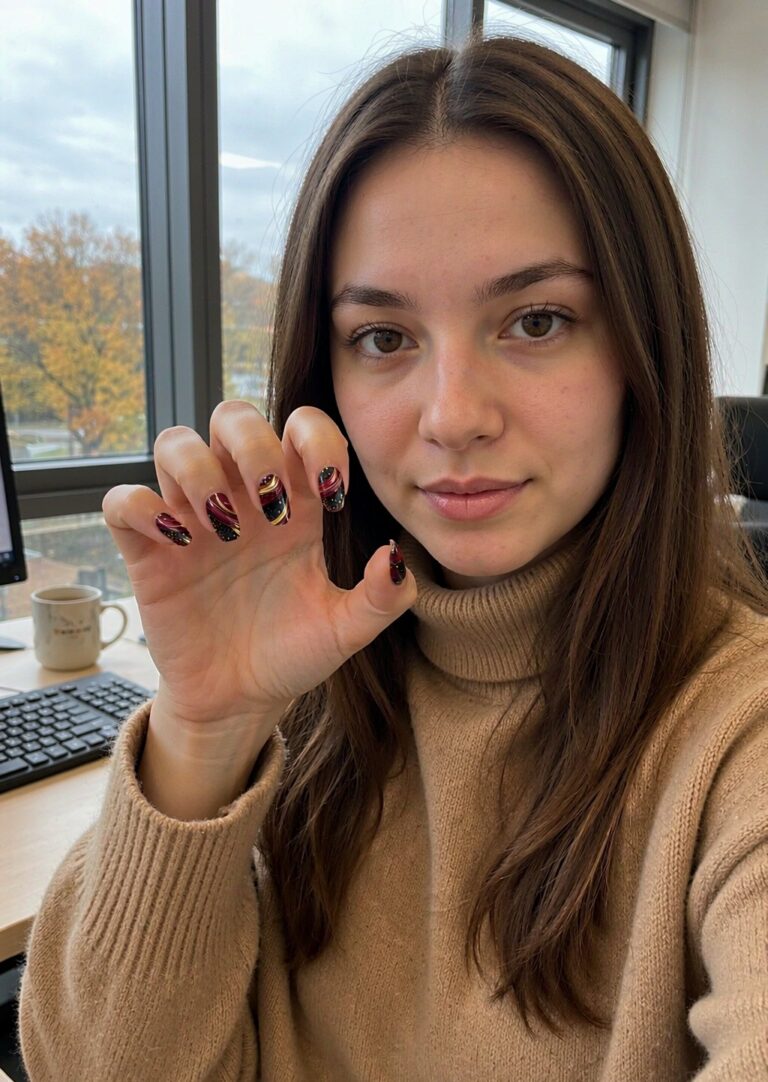
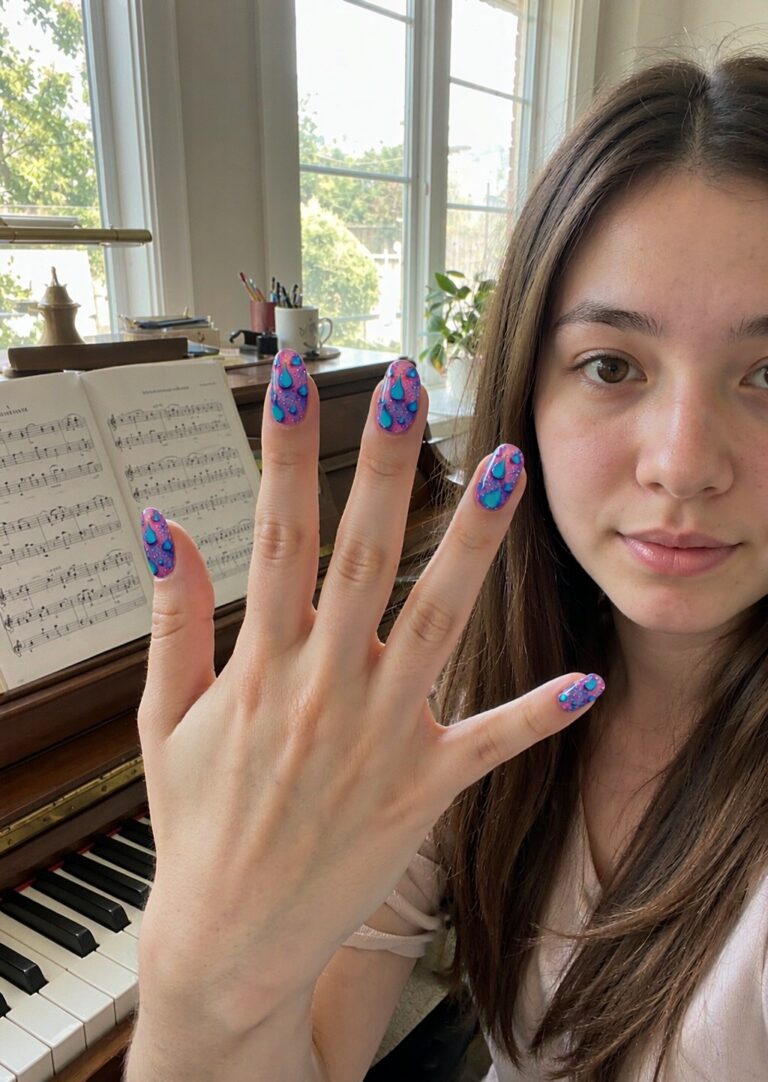
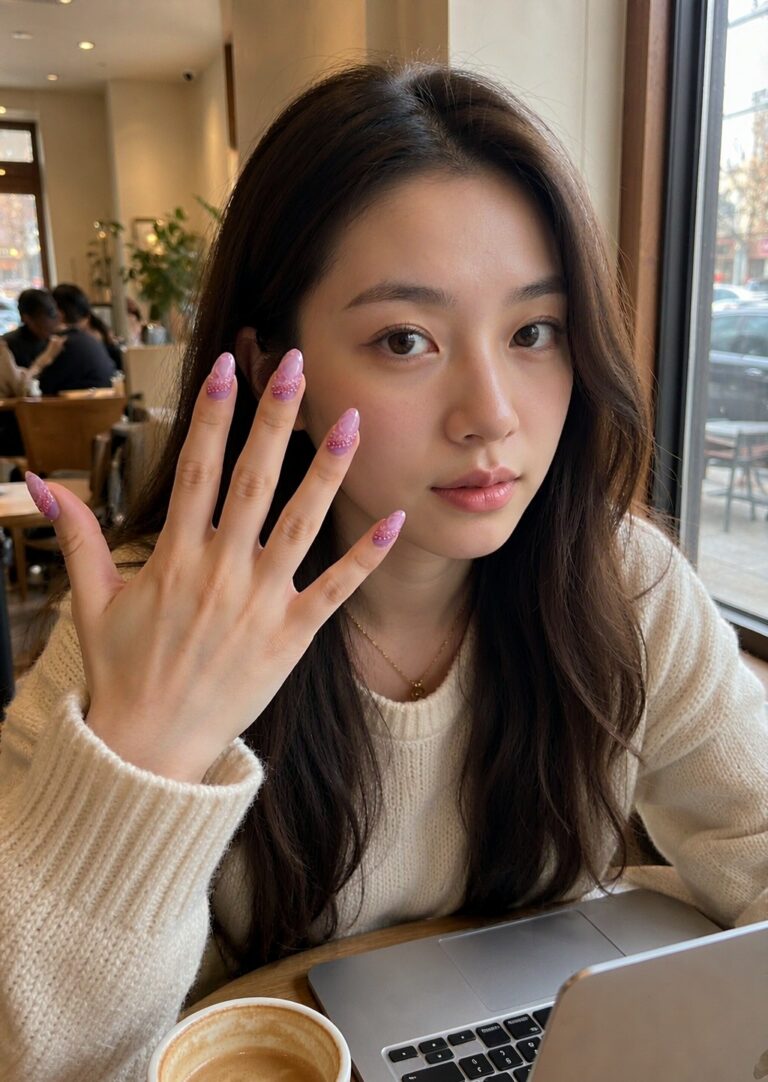
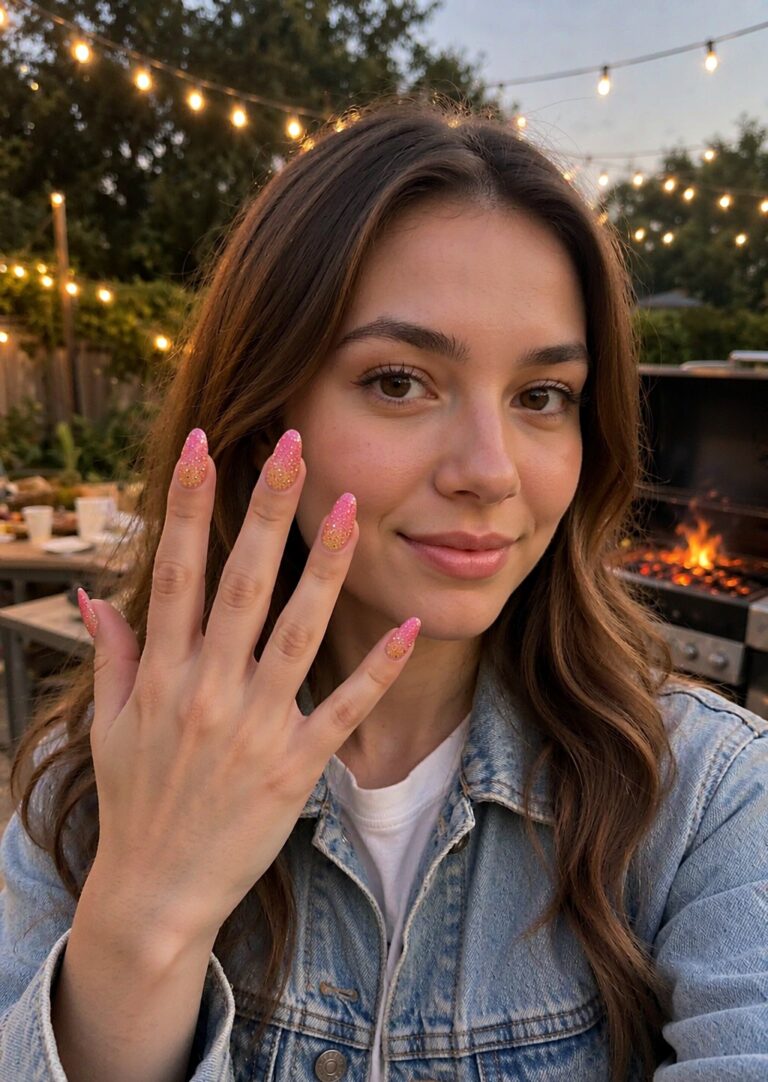
What I used instead: semi-cured gel nail strips — real gel polish, 60 percent cured in the packet, hardened at home under a small UV/LED lamp. The Petal Blush Ombre set is a milky-white-to-dusty-rose babyboomer fade, which turned out to be the perfect photo choice: it flatters every skin tone, reads as “her nails, but suspiciously perfect” from any camera distance, and doesn’t fight with the black gown the way a bold color would. Application was genuinely fifteen minutes: alcohol wipe, press each strip on slightly narrower than the nail, smooth from the center outward, scissor the excess, sixty seconds under the lamp, quick file. No drying time to ruin, no smudges, no appointment.
Doing them two days early was the key decision. It gave me time to make sure nothing lifted — nothing did — and by photo day the edges had that fully settled look. Under the photographer’s close-ups, between holding my cap and hugging my friends, they never chipped once.
Bobby pins, a mini deodorant, and blotting papers. The wind will defeat your cap, May will defeat your makeup, and the person with pockets full of boring supplies becomes the hero of a group shoot. Also water — smiling for two hours is a sport.
Between the family formals and the friend group poses, I had my photographer take one silly candid of just my hands — cap tassel, diploma edge, and those soft ombré nails in frame. It cost thirty seconds of the shoot and it’s the photo I’ve actually printed. Your four years of typing essays deserve one close-up.
The full breakdown of my photo prep: steamer, borrowed. Lip stain, $9. Strips that made item number 4 happen, $5.99 a box — 24 strips in mixed sizes, three weeks of wear, no salon appointment, no tip jar. As far as cost-per-photo goes, my nails showed up in every image for less than the parking meter.
Six items, two days of settling time for one of them. If graduation is on your own calendar, put the Petal Blush Ombre set at the top of your checklist — fifteen minutes at your desk, and it’s the one prep step that survives every hug, handshake, and diploma grip of the day.