Before you go —
we send free sample boxes to businesses evaluating our strips.
No minimum. No obligation. Just try them on real nails.
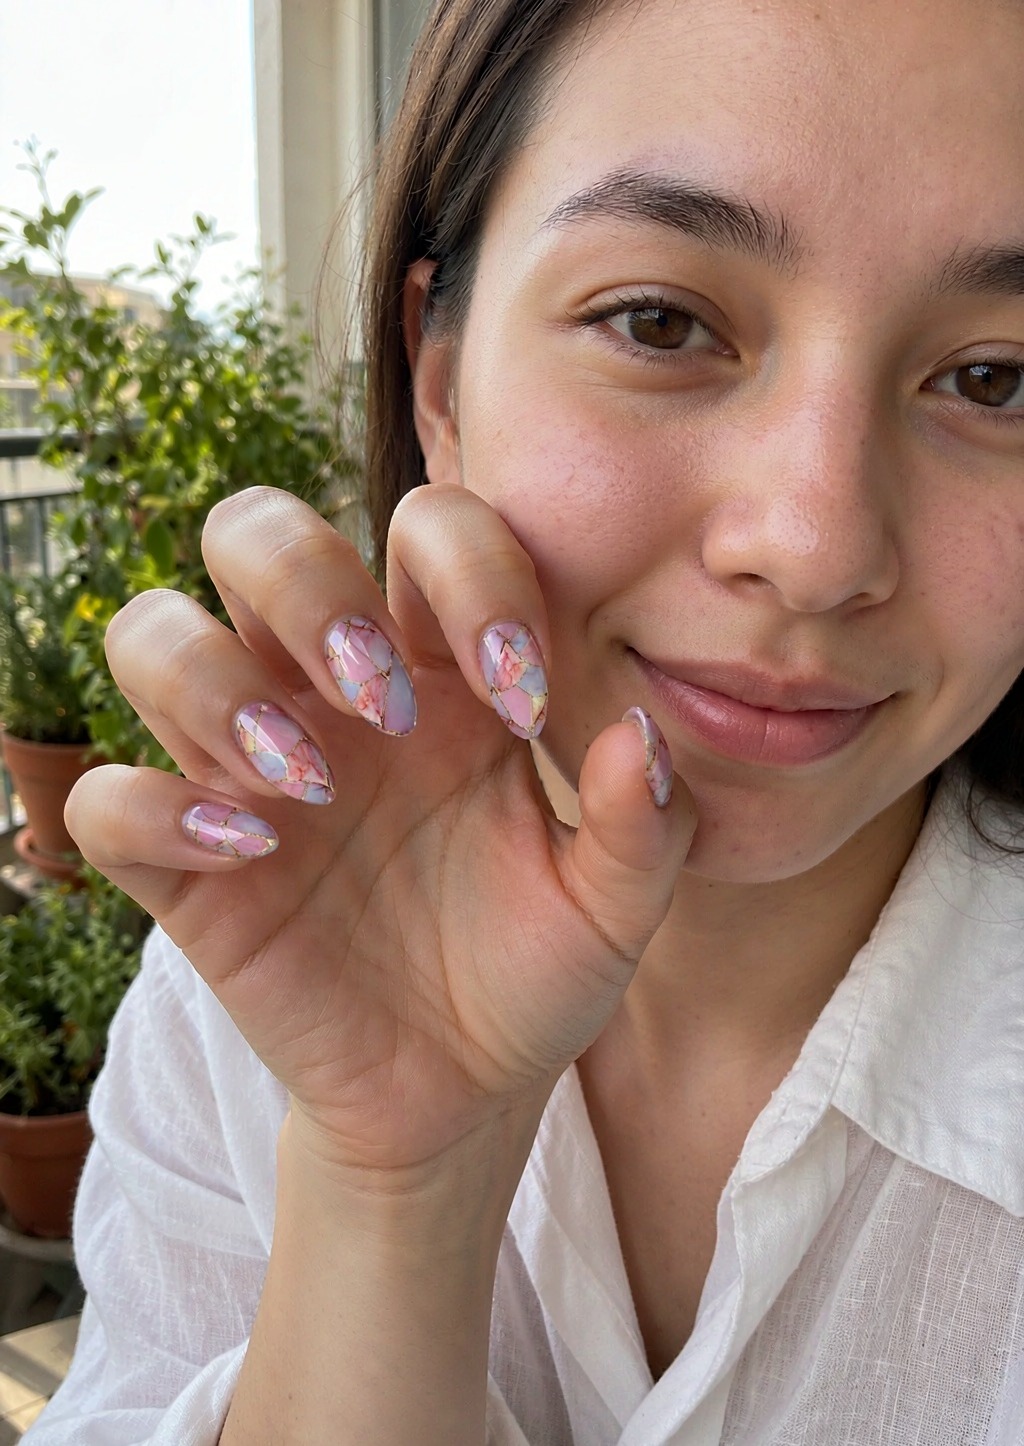
The first set of gel strips I ever pressed on took me about half an hour, and I nearly gave up halfway through. Not because the strips were bad — because I’d watched a salon video first and thought I needed salon hands. I didn’t. If you’ve been circling the geode nail art trend but assumed it’s too fiddly to do at home, this post is the one I wish I’d read first.
Geode nails look like the hardest trend to attempt: stone-like color fields, thin gold veins running through them, like each nail is a slice of crystal. It reads as salon art. But it’s secretly the most forgiving printed design there is — the “veins” are already in the pattern, so there’s no steady hand required. Lilac and blush also flatter every skin tone, and the gold lines catch light without needing glitter cleanup. A $5.99 box of Lilac Geode Vein strips gives you 24 strips in mixed sizes, so you’ll find your width on every nail without guesswork.
Here’s the whole process — I’ve cut everything that tripped me up as a beginner:
From wipe to filed: about ten minutes for a full hand. The design does the rest — the gold veins and the lilac-to-blush fade are already printed, so what cured on my nails matched the sheet exactly.
Wear time on my set: three weeks before I chose to redo them, with two free edges slightly worn by then. No top coat was needed and the gloss held. Two things to know before you order: you do need a UV/LED lamp — most strip sellers offer one, and a small 45W unit is a one-time buy; and like any gel manicure, the edges catch less if you file them properly in step 7, so don’t skip it. Removal is the gentle part: warm oil at the edge, soak, lift — no drilling, no salon appointment to undo them.
One more beginner tip: do one hand completely before starting the other. Your first hand will be slightly slower, and it’s much better to learn with a finished set in front of you than with ten half-pressed nails.
If you want the crystal-vein look without the salon chair, Lilac Geode Vein is the set I’d start with — the full design sheet is here. Ten minutes, one lamp pass, and the trend that looked impossible is the one you’re wearing on a Tuesday.